How to split a video into clips on a Mac
Turn one long recording into separate clip files, each saved in the original quality. Two ways to do it on a Mac, and what to know about where each clip starts.
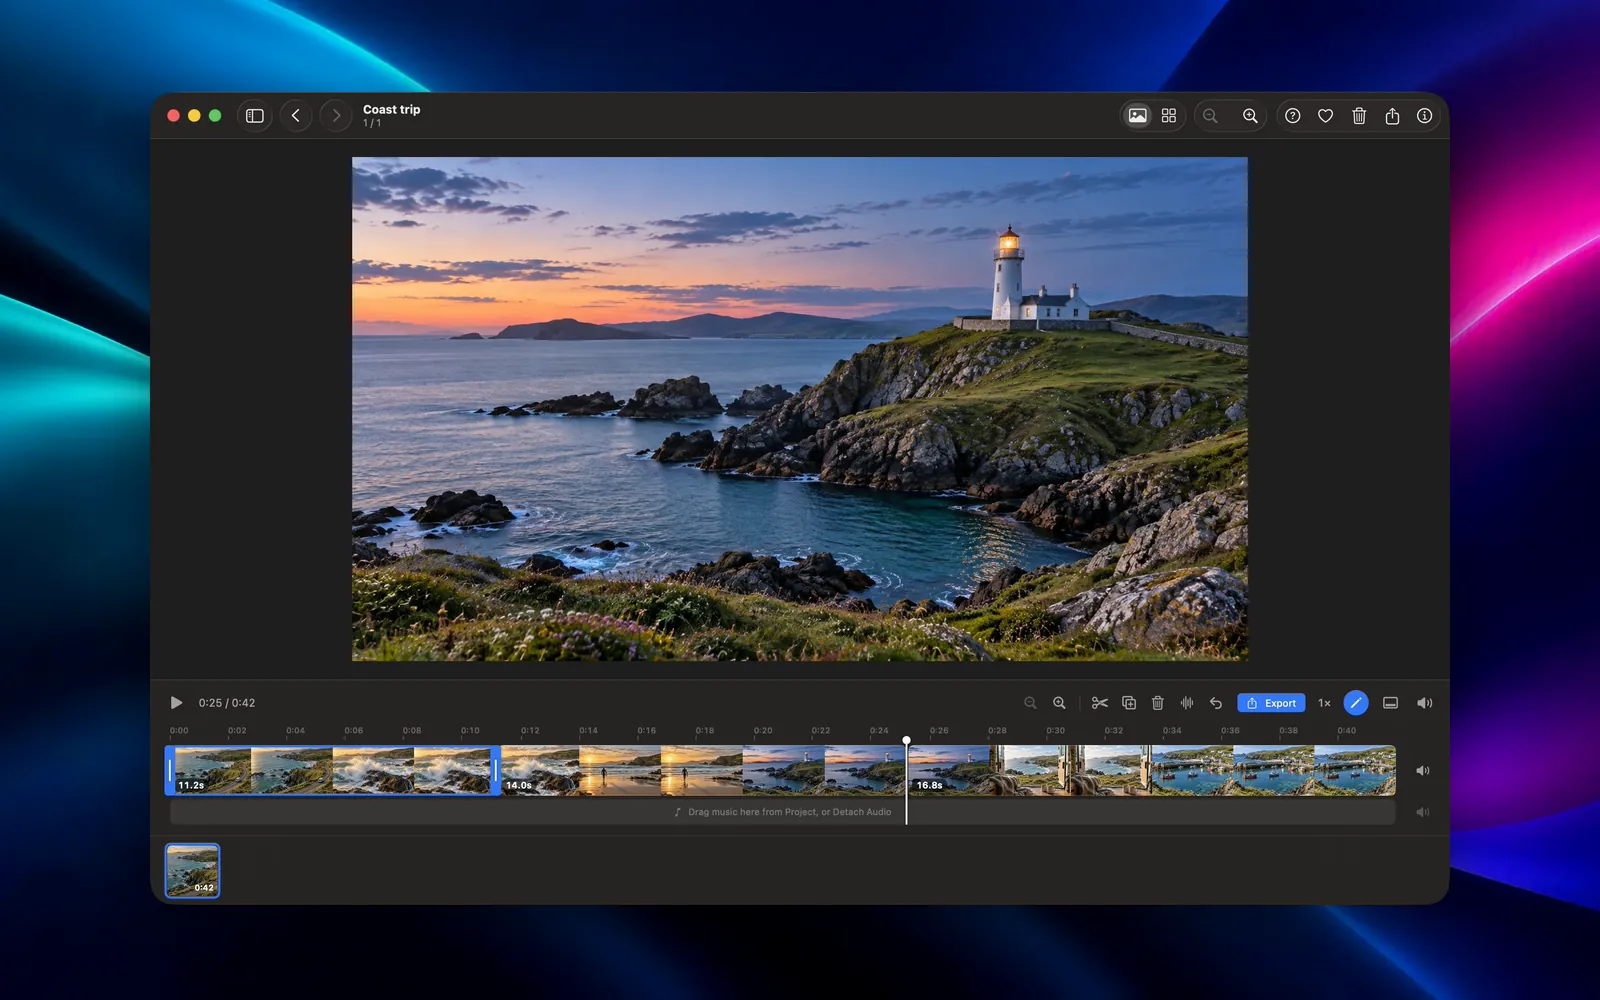
A long recording often holds several moments you want as separate files, like the good takes from an interview or each stop of a road trip. Split into clips, each one can be shared or dropped into a bigger edit on its own.
Each clip can be a straight copy of its part of the original, with nothing re-encoded, which keeps the quality and makes saving fast. The one catch is where a clip can start, covered below.
Option 1: ffmpeg, from Terminal
ffmpeg’s segment feature cuts a file at the times you list and copies the streams as they are. Install it with Homebrew (brew install ffmpeg), then:
ffmpeg -i input.mov -c copy -f segment -segment_times 11,25 -reset_timestamps 1 clip%02d.movThis writes clip00.mov (up to 11 seconds), clip01.mov (11 to 25) and clip02.mov (the rest). It’s quick and works on any number of files, but you have to find the times first, in another app.
Option 2: Galance
Galance is a Mac app for going through folders of photos and videos, with a timeline for cutting clips. We make it, so read this part with that in mind.
Mark the pieces
- Open the folder with the video and select it.
- Press ⌘E to open it on the timeline.
- Play or drag the playhead to where a new clip should begin, and press C to split there. Repeat for every cut.
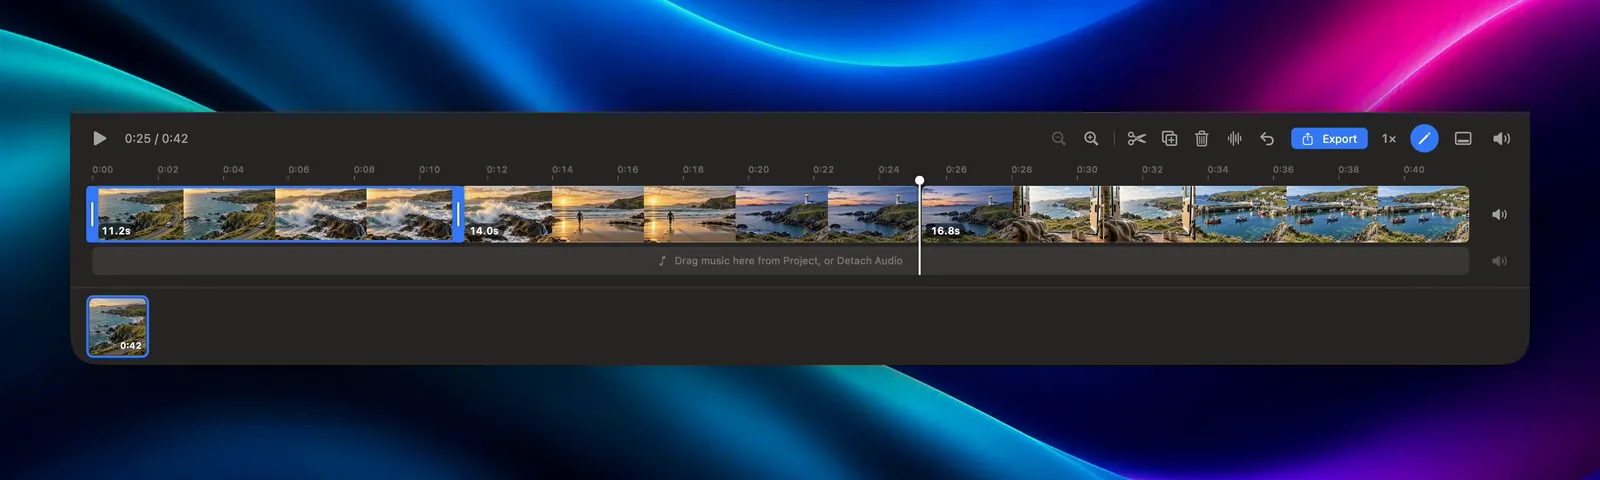
You can drag the edges of a piece to adjust it, and delete pieces you don’t need.
Save each piece as a clip
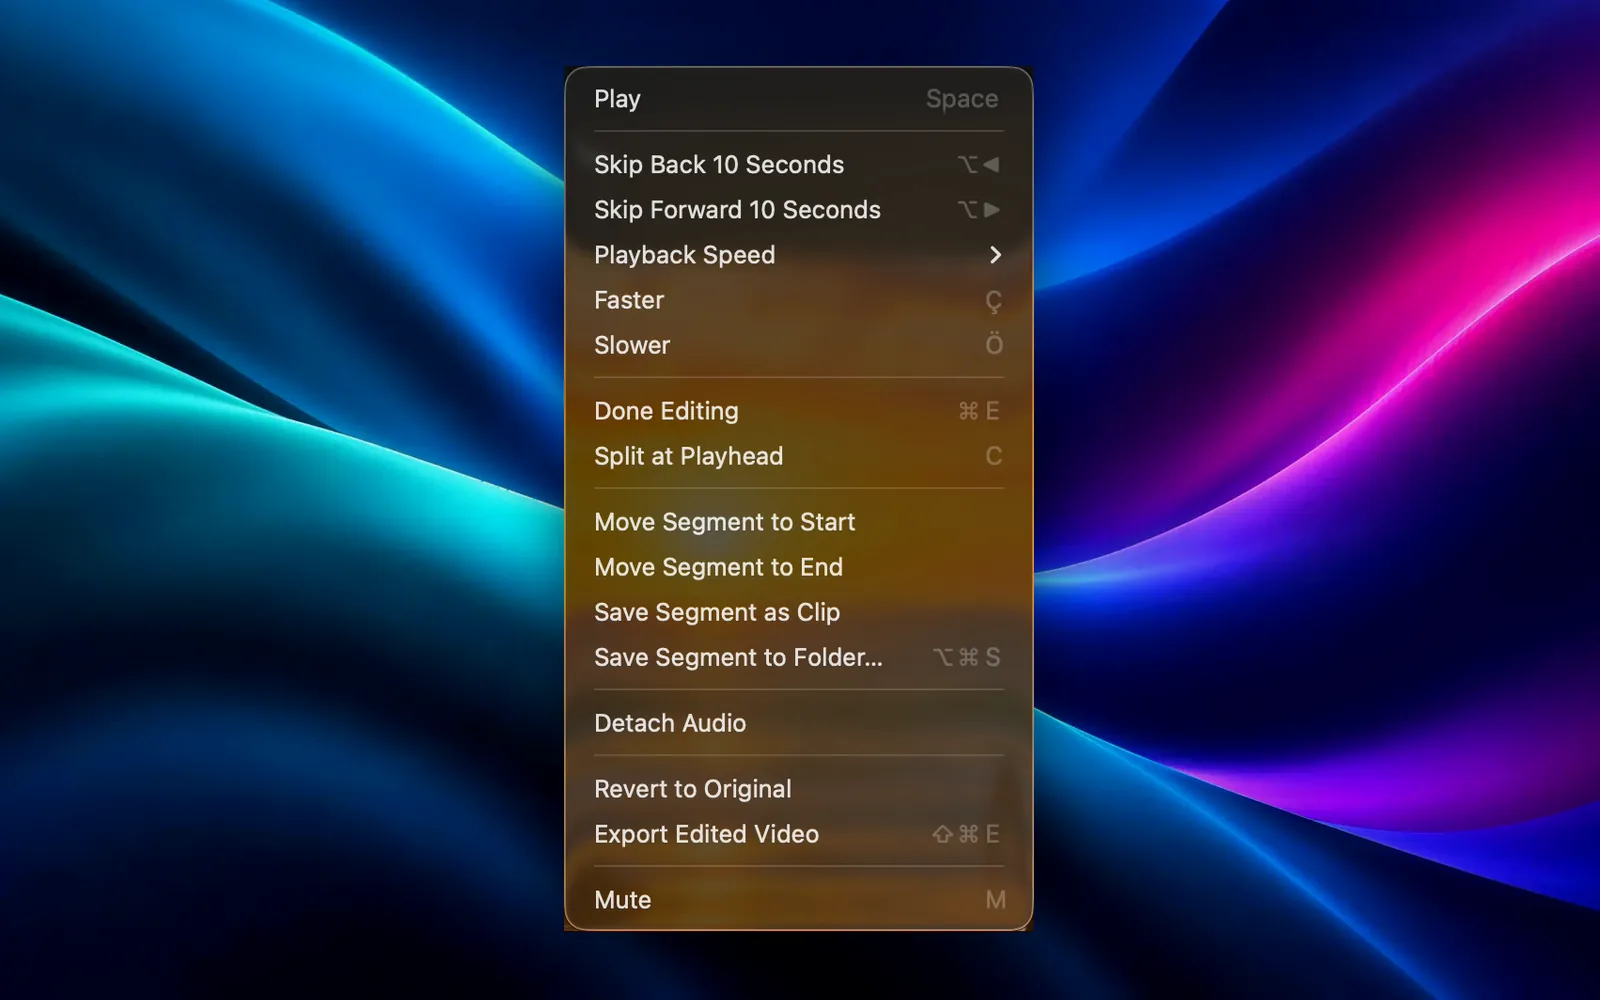
Select a piece and choose Video › Save Segment as Clip. Galance writes it to your destination folder, which is a “Liked” folder inside the folder you opened unless you chose another one. To pick a folder for a clip instead, use Video › Save Segment to Folder… (⌥⌘S).
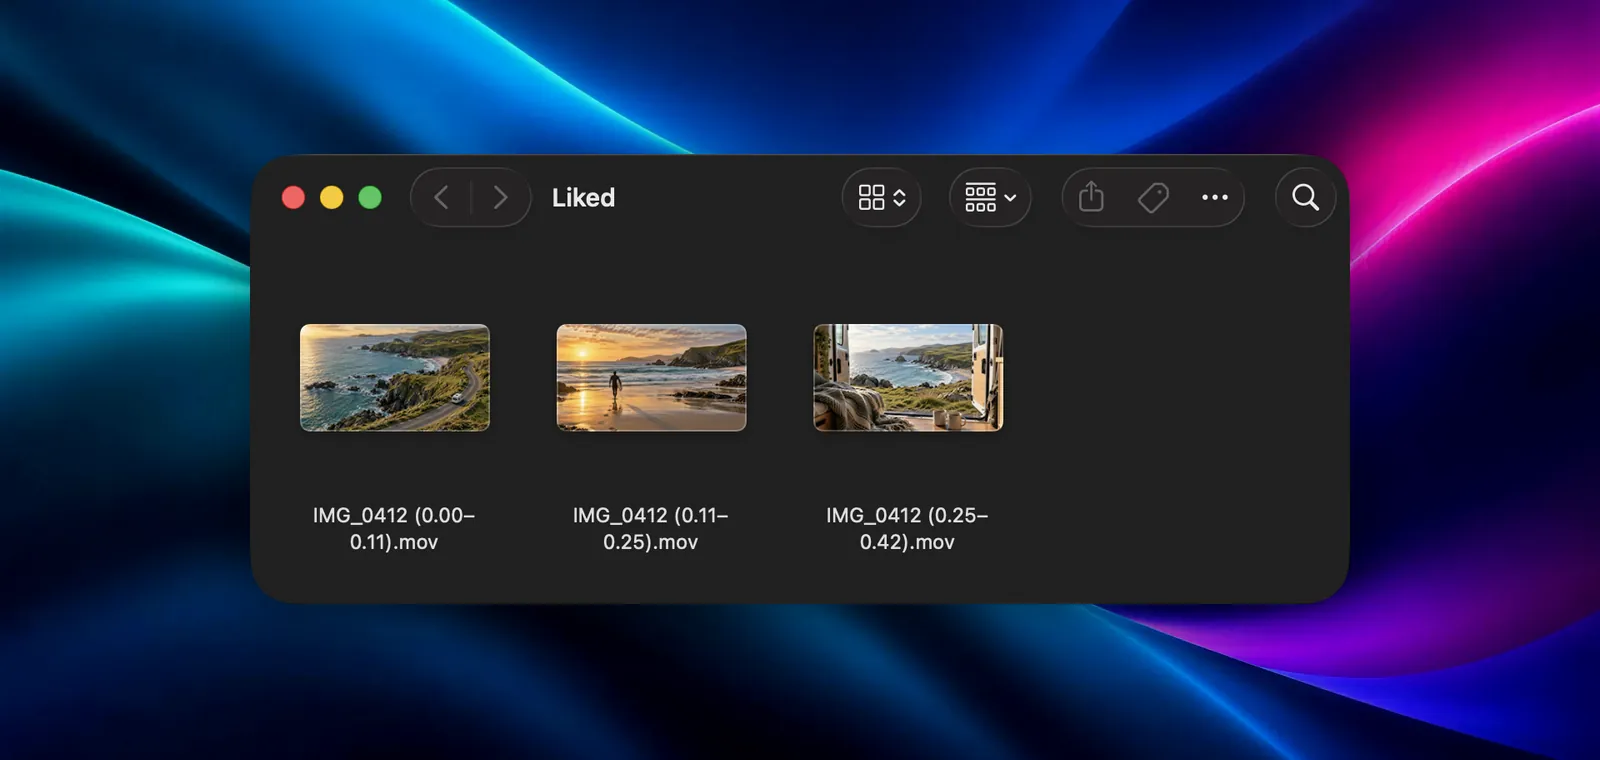
Each clip is named after the original and the part it covers, in minutes and seconds, so you can tell them apart in Finder without opening them:
The original video stays as it was. If you save a clip by mistake, ⌘Z moves it to the Trash.
Save Segment as Clip works on pieces of the video that’s open. If you’ve brought other videos into the timeline, export the whole edit with ⇧⌘E instead.
Where a clip starts: keyframes
Compressed video stores complete pictures only now and then. These are keyframes, and the frames between them only hold changes. A clip copied without re-encoding has to start on a keyframe, so its start can land slightly before or after the spot you chose. With phone and camera footage, the difference is usually a fraction of a second. ffmpeg’s segment command behaves the same way.
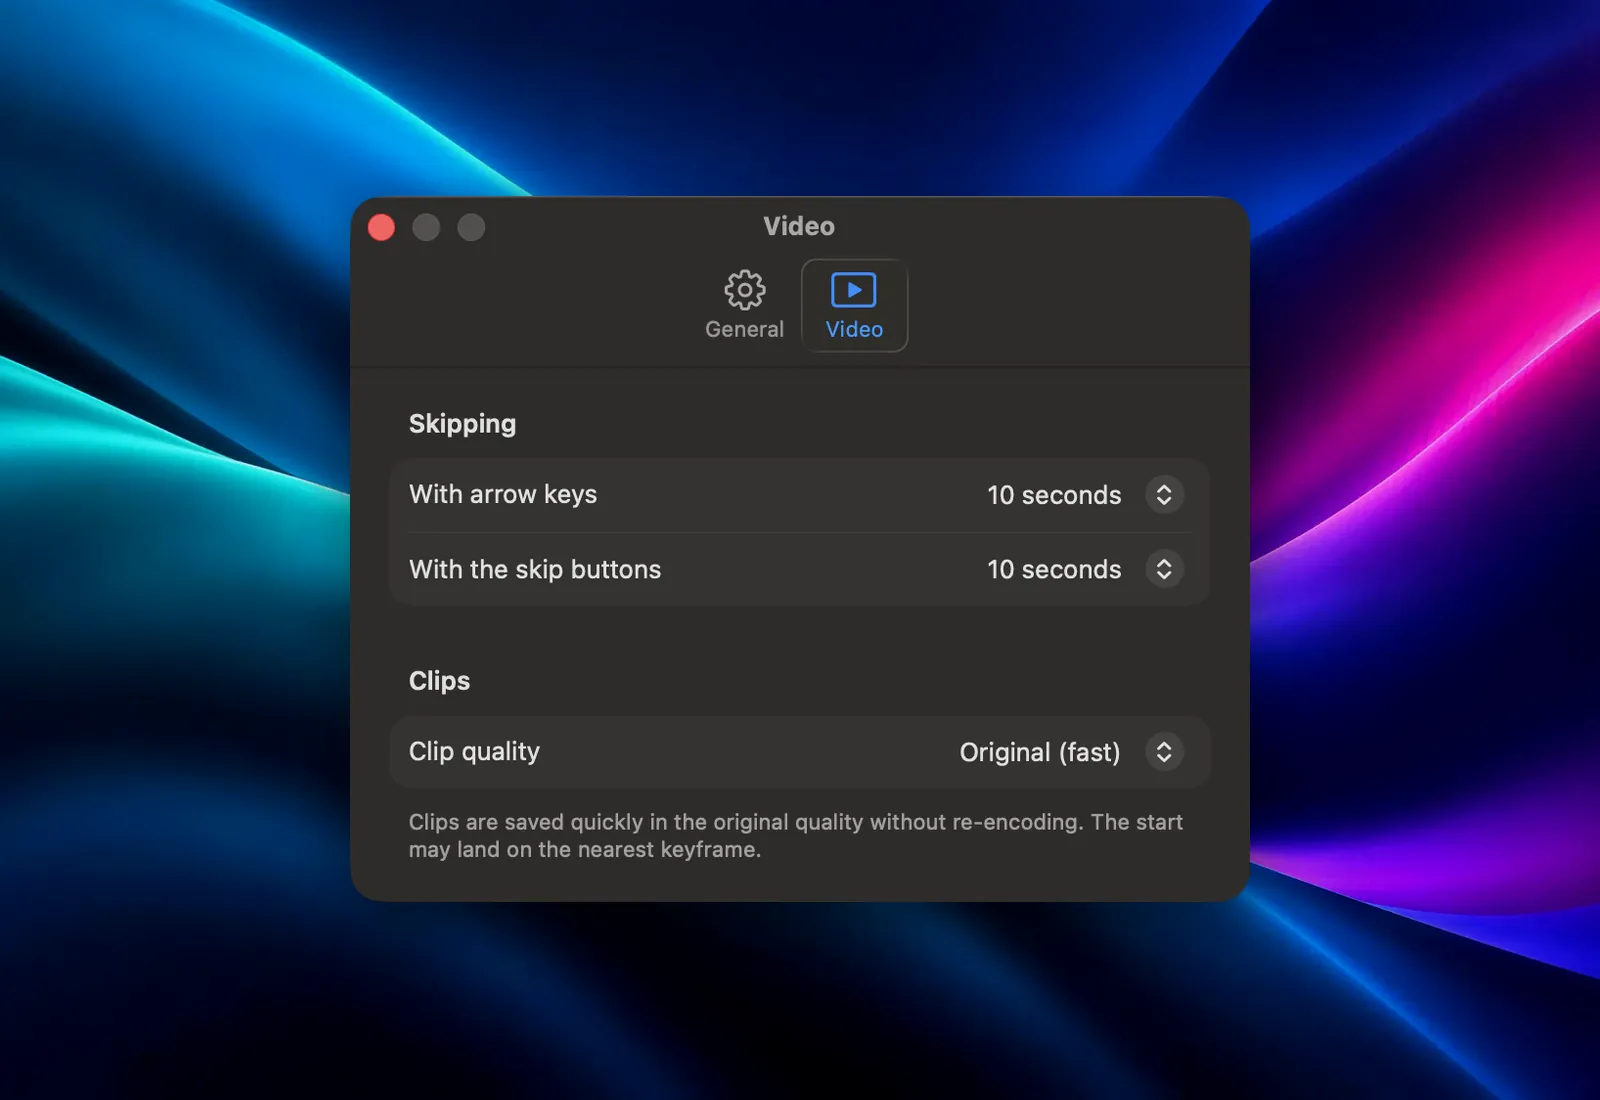
When a clip has to start on an exact frame, Galance can re-encode it. Go to Settings › Video › Clip quality and choose Frame-accurate. Saving takes longer, and the clip starts exactly where you split. Original (fast), the default, keeps the copy-only behavior.
Which to use
If you already know the times, or you’re processing many files the same way, ffmpeg is hard to beat. If you need to watch the video to find the cuts, Galance lets you find them, split and save the clips in the same window.
If what you want is one shorter video rather than several clips, see how to trim a video on a Mac without re-encoding.