How to cull photos on a Mac, fast
A keyboard-only way to go through hundreds of photos after a shoot and keep the good ones, without importing anything into a library first.
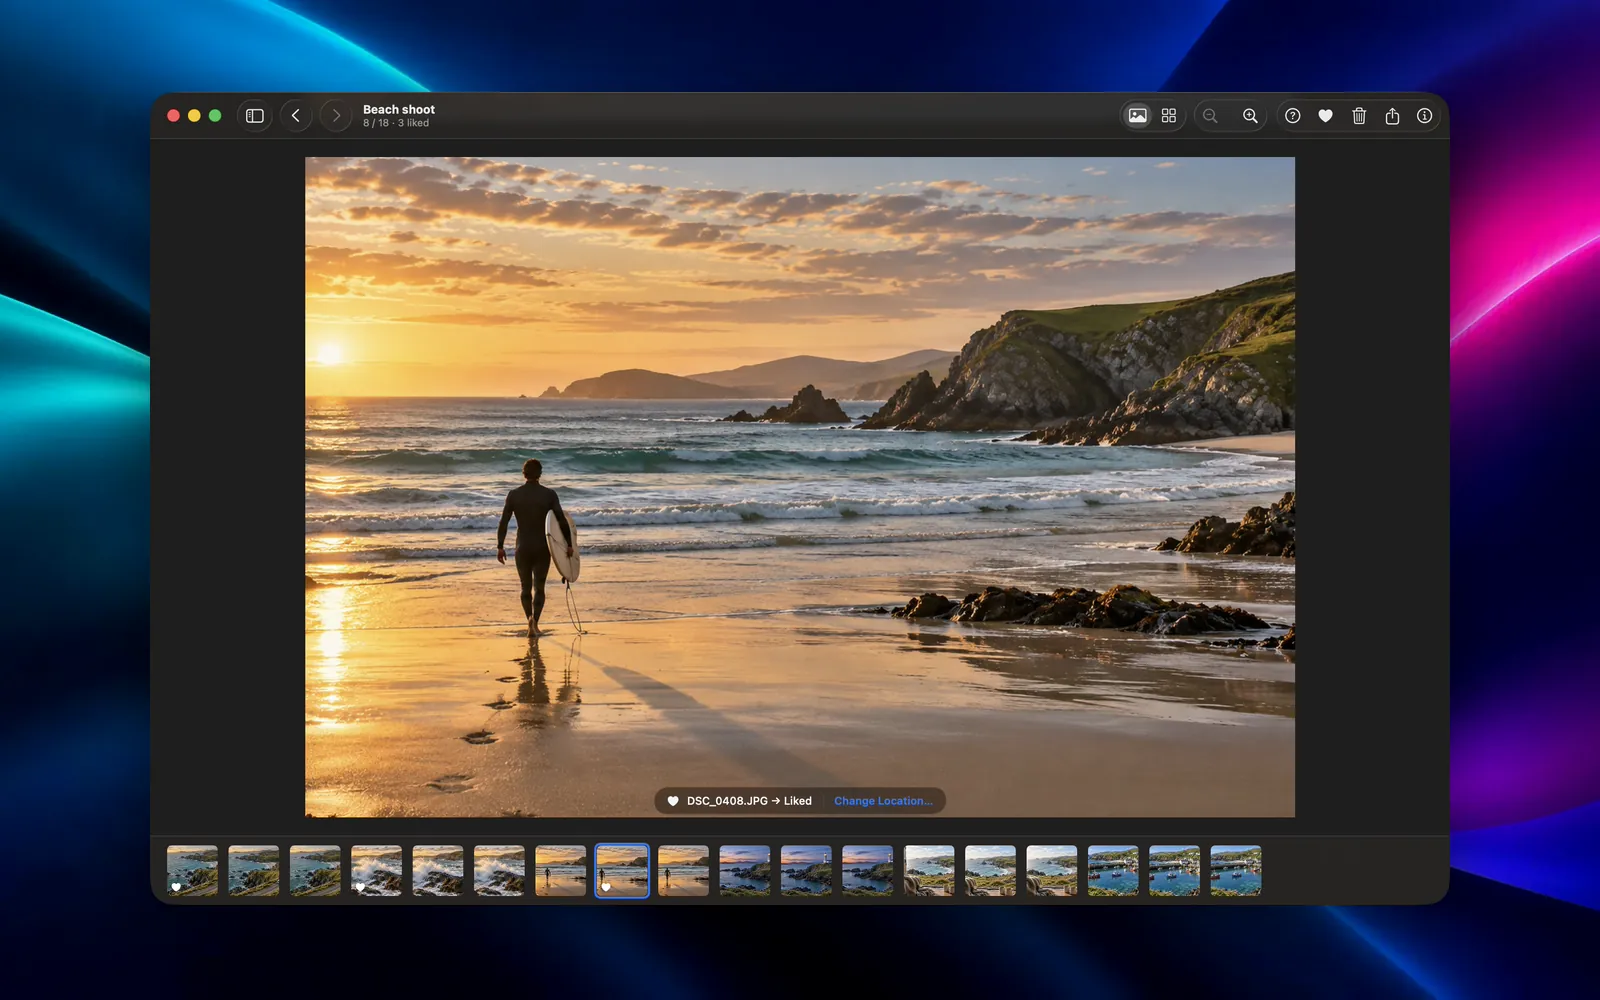
Culling is the step between the shoot and the edit: you go through everything you shot and decide what’s worth keeping. It’s the dullest part of photography and often the slowest. It gets quick once you have an app that shows the next photo the moment you press a key, and one key that marks a keeper.
Before you start: what makes a keeper
Decide this before the first frame, so you don’t decide it 500 times. For most shoots, a photo goes out if:
- the focus missed the subject,
- someone blinked or is mid-word,
- it’s a near copy of a better frame from the same burst.
Everything else is a maybe, and in the first pass a maybe counts as a keeper. You’ll be stricter later, when there are fewer photos to compare.
Why not import first?
Apple Photos and Lightroom both want you to import before you look. That’s fine for photos you’ll keep, but importing 1,200 frames to keep 60 means copying, building previews and cleaning up the other 1,140 later. Culling straight from the folder skips all that. Finder’s Quick Look is fast enough to look through a folder, but it has no way to mark a photo while you’re in it.
Culling a folder with Galance
Galance is a Mac app built for this step. We make it, so take that into account. It opens any folder as it is: JPEG, HEIC and RAW files from most cameras (CR3, NEF, ARW, RAF, DNG and more), with no import and no catalog.
- Open the folder with ⌘O, straight from the card or wherever you copied the shoot.
- Go through it with ← and →. For RAW files, Galance shows the full-size preview the camera embedded in the file when it’s big enough, so even large RAWs come up without a wait.
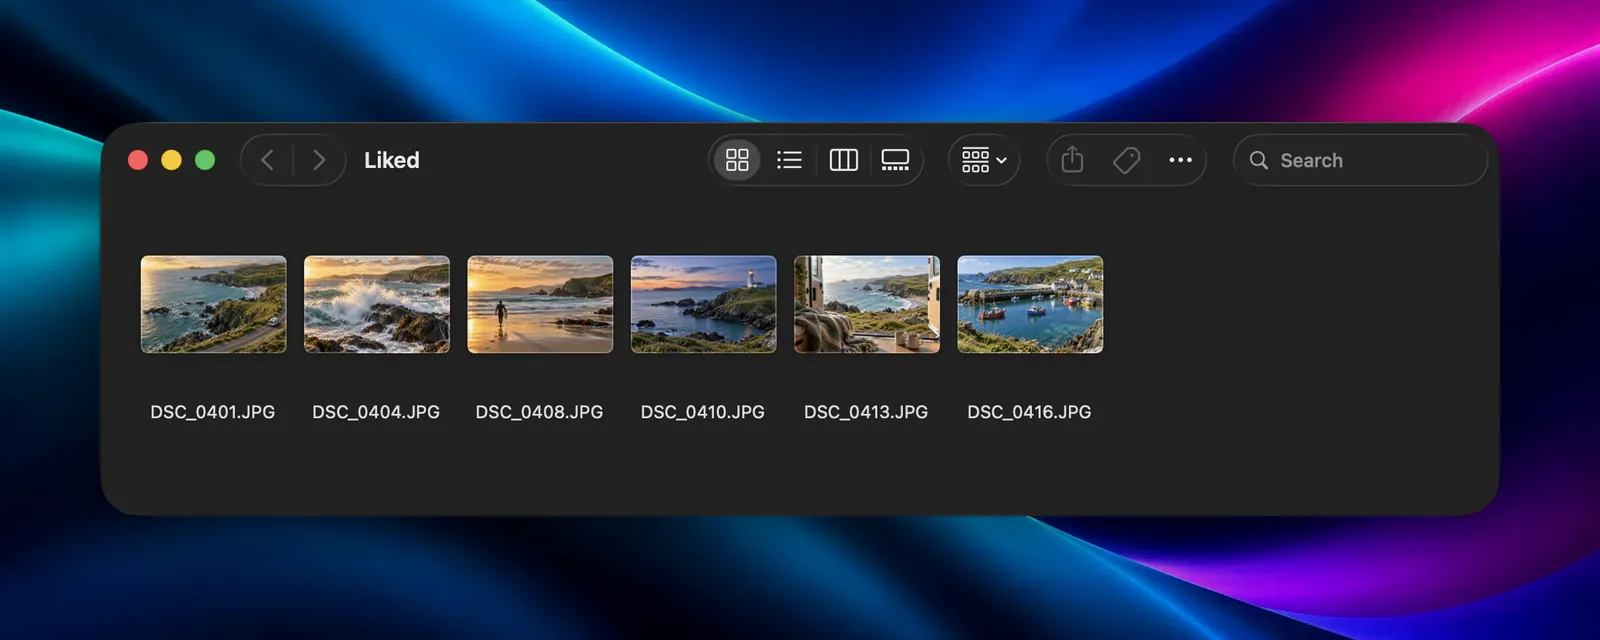
- Press F on a keeper. Galance copies it into a folder named “Liked” inside the folder you opened, and shows where it went.
- Or press Space, which likes the photo and moves to the next one in one step. For a fast first pass, that’s most of what your fingers do.
Your originals are never moved or changed. The Liked folder holds copies, so you can drag it straight into Lightroom, Photos or a client delivery. Press F again to unlike a photo, and Galance moves its own copy to the Trash. Anything you do, ⌘Z undoes.
To delete a frame you’re sure about, like an accidental shot of the ground, press ⌘⌫. It goes to the Trash, so you can still get it back.
If you’d rather put keepers somewhere else, choose File › Choose Destination Folder…. The message that appears after each like also has a Change Location… button.
Bursts: compare in the grid
When you’ve shot five frames of the same moment, it’s easier to pick from a grid than one by one. Press ⌥⌘2 to switch to the grid (⌥⌘1 goes back), move with the arrow keys, and press Return to open a photo full size.
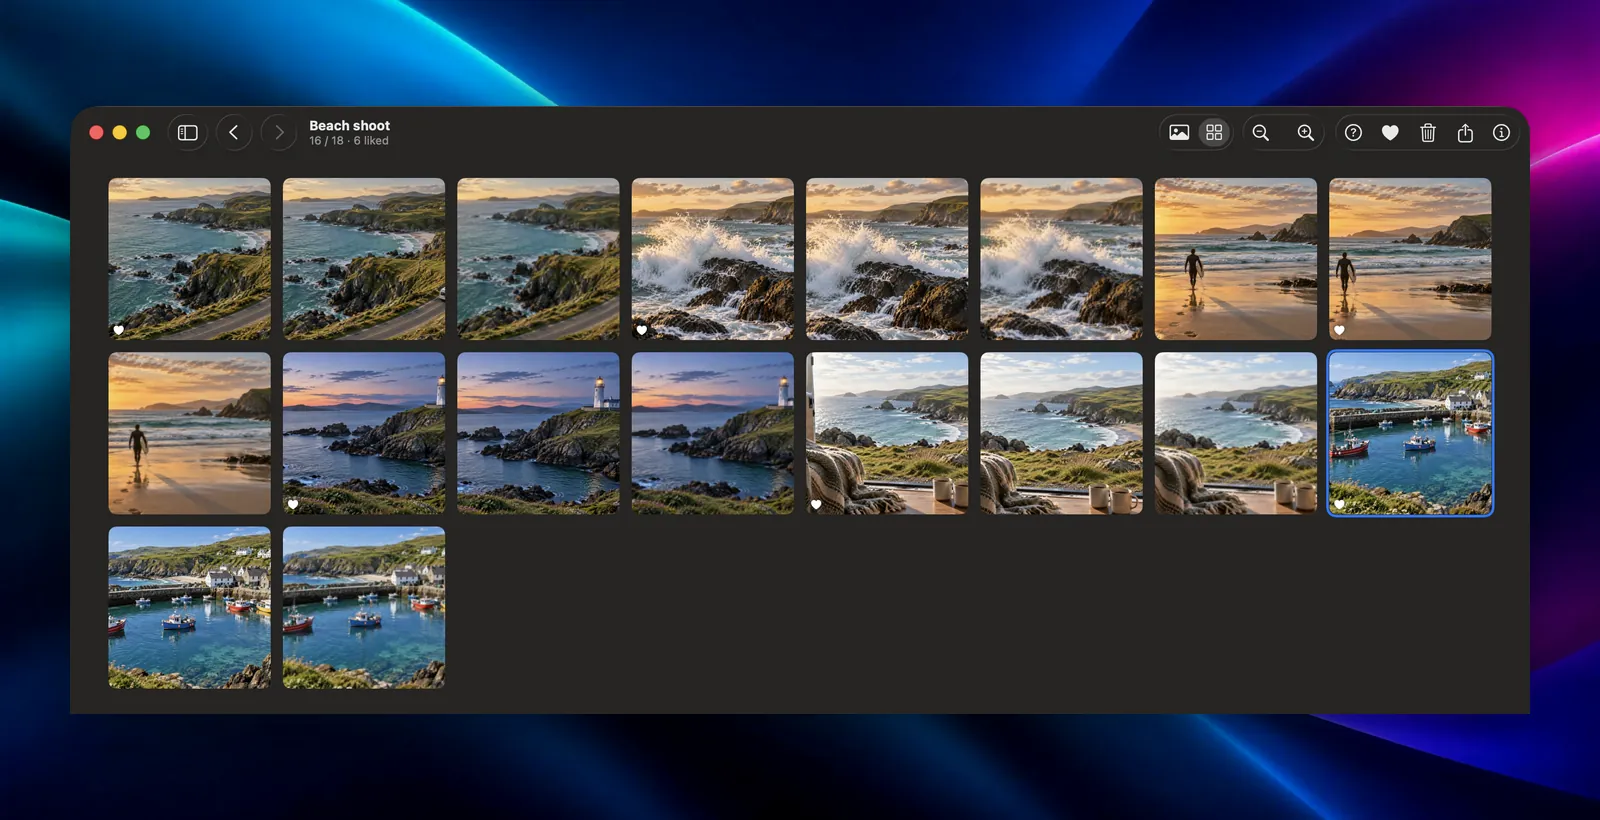
To check focus, zoom in with ⌘+ (up to 5×) and press ⌘0 to fit the photo again. ⌘I shows the camera, lens, aperture, shutter speed and ISO, which helps when you’re wondering why one frame is soft.
The second pass
Press S to show only the photos you liked. This is where you get strict: compare the survivors, and unlike the weaker frames with F. Press S again to see everything.
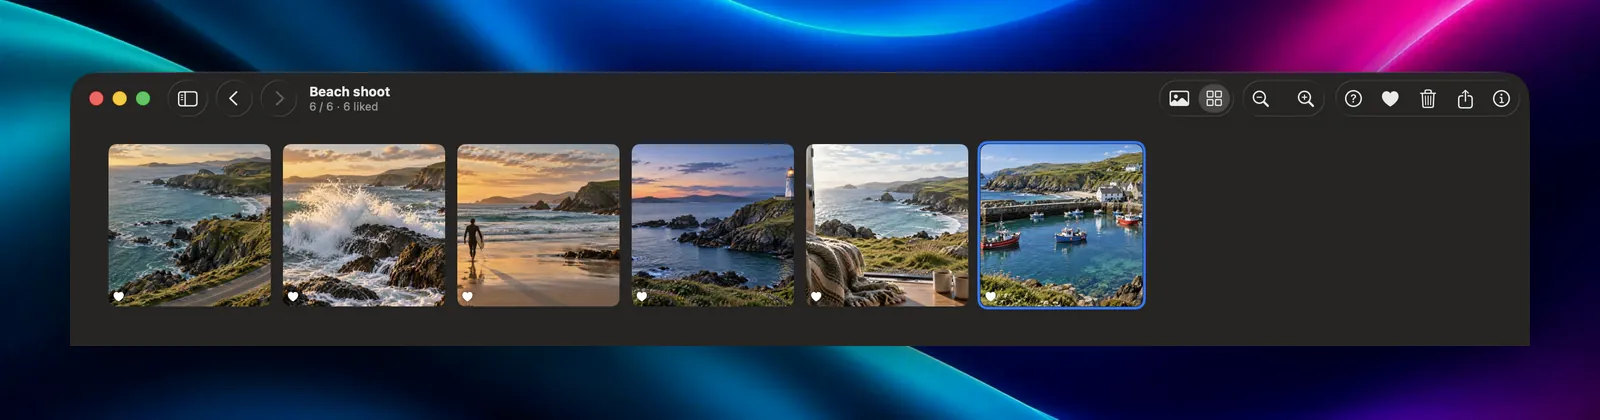
When you’re done, the Liked folder is your selection, ready for editing or sending. File › Show Destination Folder (⇧⌘F) opens it in Finder.
Two things Galance doesn’t do
Galance has one mark, the like. There are no star ratings or color labels, so if your workflow depends on rating everything from one to five, you’ll still need Lightroom or another cataloging app for that part.
It also treats every file on its own. If you shoot RAW and JPEG together, the two files of a frame show up as two items, and liking one copies only that one. Like the version you plan to edit, which for most people is the RAW.
A quick routine
- Copy the card to your Mac, or open it directly.
- First pass: Space on anything that might be good, → on everything else. Don’t stop to compare.
- Second pass: S, then the grid, and unlike the weaker frames of each burst.
- Hand the Liked folder to your editor or your editing app.